How To Repair And When To Replace Your Weatherstripping
Maintaing the integrity of your vehicle often means addressing the less glamorous but crucial components—like weatherstripping. These rubber seals lining your doors, windows, trunk, and windshield protect your car from water, air, and unwanted road noise. Over time, weatherstripping deteriorates, and if you don’t address it immediately, it can cause damage. Here’s what Steele Rubber recommends determining… The post How To Repair And When To Replace Your Weatherstripping appeared first on The Online Automotive Marketplace.

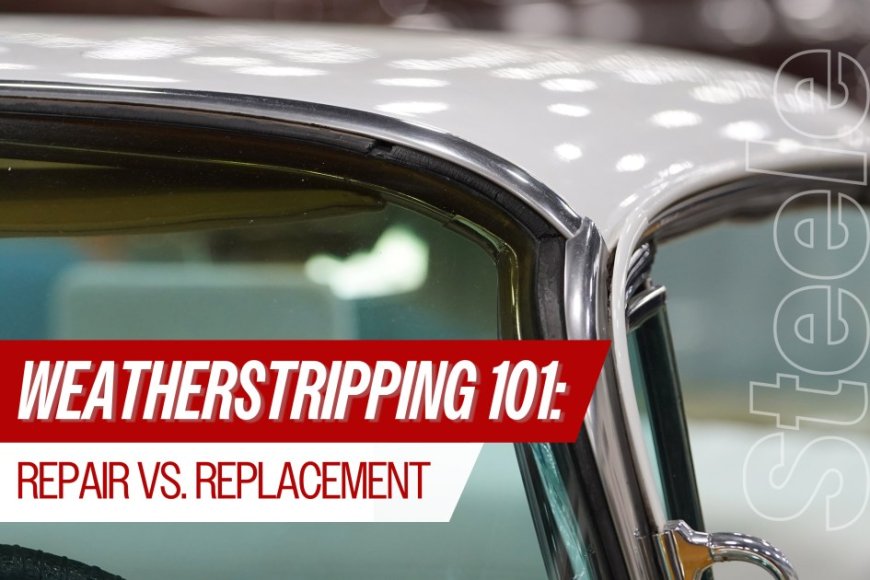
Maintaing the integrity of your vehicle often means addressing the less glamorous but crucial components—like weatherstripping. These rubber seals lining your doors, windows, trunk, and windshield protect your car from water, air, and unwanted road noise.
Over time, weatherstripping deteriorates, and if you don’t address it immediately, it can cause damage. Here’s what Steele Rubber recommends determining whether your weatherstripping needs repair or replacement and how to handle it like a professional.

Signs of worn weatherstripping
Weatherstripping typically shows wear through visible cracks, tears, or brittleness. Telltale signs include cabin/wind noise, rattling windows, moisture inside, or difficulty maintaining temperature control. Water leaks around the window or windshield are another indicator your weatherstripping is worn or damaged.

When To Repair
Minor issues like loose or detached sections of weatherstripping can often be repaired rather than replaced. If the rubber is mostly intact, you can use a quality adhesive like 3M Super Weatherstrip Adhesive or 3M Molding Tape for loose strips (rubber-to-metal repairs), 3M Urethane Adhesive for a leaky windshield, or Loctite Super Bonder 495 for cracked or rubber (rubber-to-rubber repairs). These quick repairs can buy you time while you source exact replacement components.
When To Replace
If the weatherstripping is cracked, dried out, or missing entirely, replacement is your best option. Replacement pieces are often available for specific makes and models, though universal options can be customized for unique builds.

How To Replace Weatherstripping
Replacing weatherstripping isn’t as daunting as it sounds if you follow these steps:
- Remove the Old Stripping
Carefully peel away the old seal, removing any screws or clips. Use a plastic, non-marring scraper tool or a heat gun to soften stubborn adhesive. - Clean the Surface
Thoroughly clean the area with an alcohol-based solution to remove residue and debris. A clean surface ensures proper adhesion for the new seal. Steele Rubber recommends 3M Adhesive Remover (Low VOC). - Test Fit the New Stripping
Before applying adhesive, test fit the new piece to ensure it aligns correctly with the frame or track. Ensure the part is in the correct orientation, fitted and molded pieces often only fit one way. - Apply Adhesive
Use a thin, even layer of weatherstripping adhesive on both the surface and the weatherstripping. Use a popsicle stick to pre-spread the adhesive across the application area. Allow it to become tacky before pressing the seal into place. - Install and Secure
Align the new weatherstripping and press firmly to secure. Replace any screws or clips removed during the process and ensure all edges are sealed. If necessary, use masking tape to hold the strip in place during curing.

Common Mistakes To Avoid
- Don’t rush—allow adhesive to fully cure before using doors or windows.
- Avoid overapplying adhesive; a little goes a long way.
- Retain old weatherstripping as a reference for correct orientation and fit.
The Bottom Line
Whether you’re addressing a leaky windshield or rattling windows, proper weatherstripping ensures your classic car remains dry, quiet, and comfortable. By using high-quality materials and adhering to best practices, you’ll preserve your vehicle’s charm and integrity for years to come.
For more tips and tricks, check out Hemmings’ guides on restoration essentials!
Get a free custom catalog for your vehicle here!
The post How To Repair And When To Replace Your Weatherstripping appeared first on The Online Automotive Marketplace.


